Even the most careful plant lovers sometimes end up with a struggling houseplant. Maybe the leaves are drooping, turning brown, or falling off. Don’t panic—a dying plant doesn’t always mean a dead plant. With the right steps, you can often bring it back to life.
Here’s how to revive your houseplant, step by step.
Step 1: Identify the Problem
Before you take action, look closely at your plant and ask:
-
Are the leaves turning yellow or brown?
-
Is the soil always wet or bone dry?
-
Are there pests on the leaves or in the soil?
-
Has the plant stopped growing or dropped leaves suddenly?
Most dying plants suffer from one or more of these problems:
-
Overwatering
-
Underwatering
-
Poor lighting
-
Pest infestation
-
Root rot
-
Nutrient deficiency
Tip: Don’t guess—observe! The symptoms tell you what’s wrong.
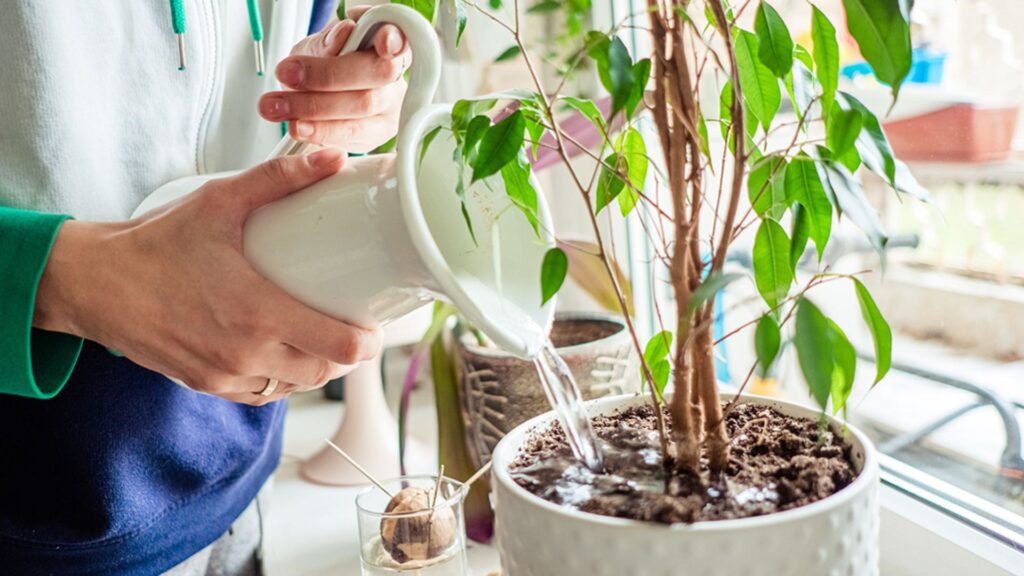
Step 2: Check the Soil Moisture
Gently stick your finger 1–2 inches into the soil.
-
If it feels wet, the plant might be overwatered or suffering from root rot.
-
If it feels dry, your plant is likely thirsty and dehydrated.
Tip: Use a moisture meter if you’re unsure. They’re cheap and easy to use.
Step 3: Check the Roots
If your plant is still declining, gently remove it from its pot to check the roots.
-
Healthy roots are white or light tan and firm.
-
Rotten roots are dark, mushy, and may smell bad.
If roots are rotting:
-
Use clean scissors to cut off the dead or mushy parts.
-
Rinse the healthy roots.
-
Repot in fresh, well-draining soil and a pot with drainage holes.
Step 4: Adjust Light Exposure
Make sure your plant is getting the right amount of light:
-
Yellowing or leggy leaves? Likely too little light.
-
Scorched or faded leaves? Likely too much direct sun.
Check what kind of light your plant prefers (low, medium, or bright indirect) and move it to a better spot.
Tip: East- or north-facing windows work well for many houseplants.
Step 5: Prune Damaged Leaves
Remove:
-
Brown, yellow, or wilted leaves
-
Dead stems
-
Any leaves with signs of pests or fungus
This helps your plant focus its energy on new, healthy growth.
Step 6: Repot If Needed
Your plant may need a fresh start in new soil.
Repot if:
-
The roots are circling the bottom of the pot (root-bound)
-
The soil smells bad or is moldy
-
The plant hasn’t been repotted in over a year
Use fresh potting mix and a clean pot with good drainage. Don’t go too big—a pot just 1–2 inches wider than the current one is enough.
Step 7: Look for Pests
Check the underside of leaves and the top of the soil for pests like:
-
Spider mites (tiny webs)
-
Fungus gnats (tiny flies)
-
Mealybugs (white fuzzy spots)
If you find pests:
-
Wipe leaves with mild soap and water
-
Use neem oil or insecticidal soap
-
Keep the plant away from others until it’s pest-free
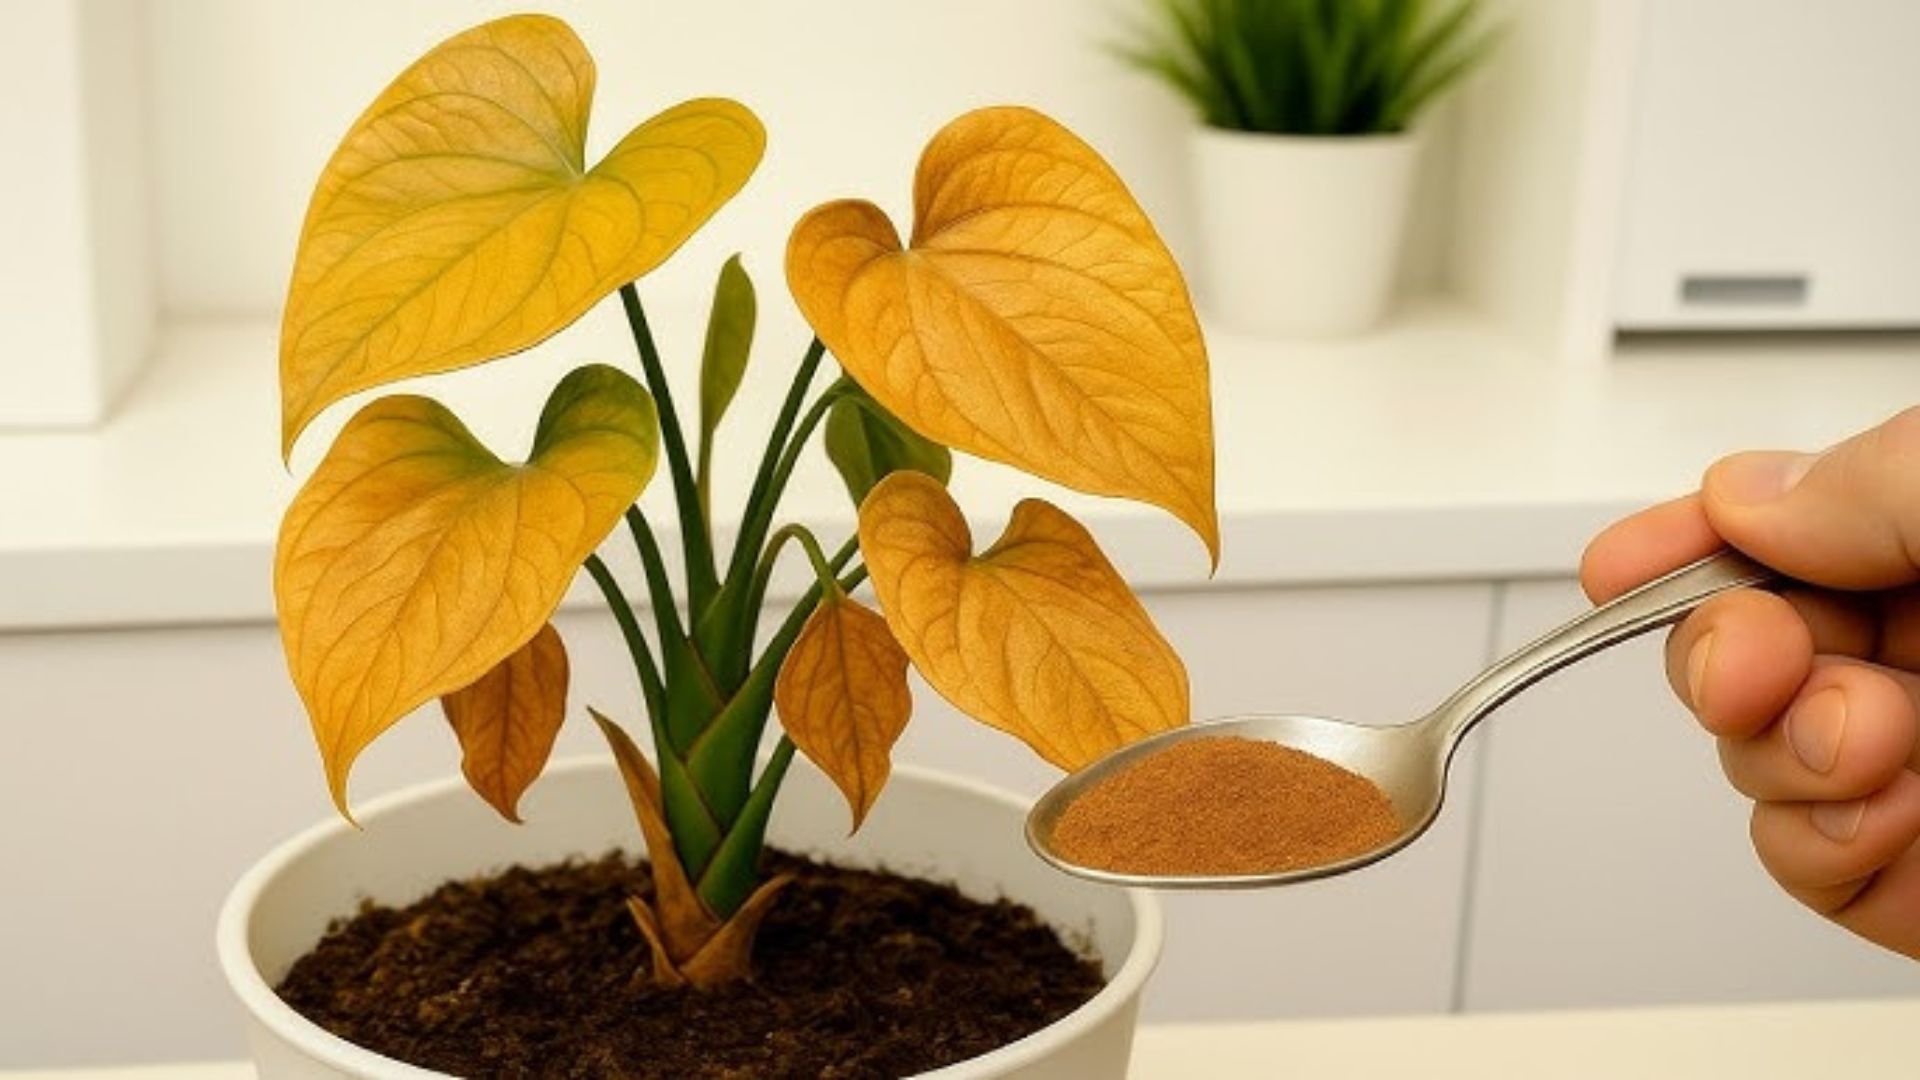
Step 8: Give a Light Feeding (If Healthy)
If your plant shows signs of new growth after a few weeks, you can give it a gentle liquid fertilizer to help it recover. But avoid over-fertilizing, especially if the plant is still weak.
Tip: Use a half-strength solution once every few weeks.
Step 9: Be Patient and Monitor
Reviving a plant takes time and care. Don’t expect overnight changes. Keep an eye on:
-
Soil moisture
-
Leaf color and texture
-
New growth
Stay consistent with watering, light, and feeding, and give your plant time to recover.
Conclusion
Reviving a dying houseplant isn’t about doing something dramatic. It’s about understanding what went wrong, fixing it step by step, and being patient. Most plants are more resilient than they seem.
With the right care, your plant can bounce back stronger than ever.