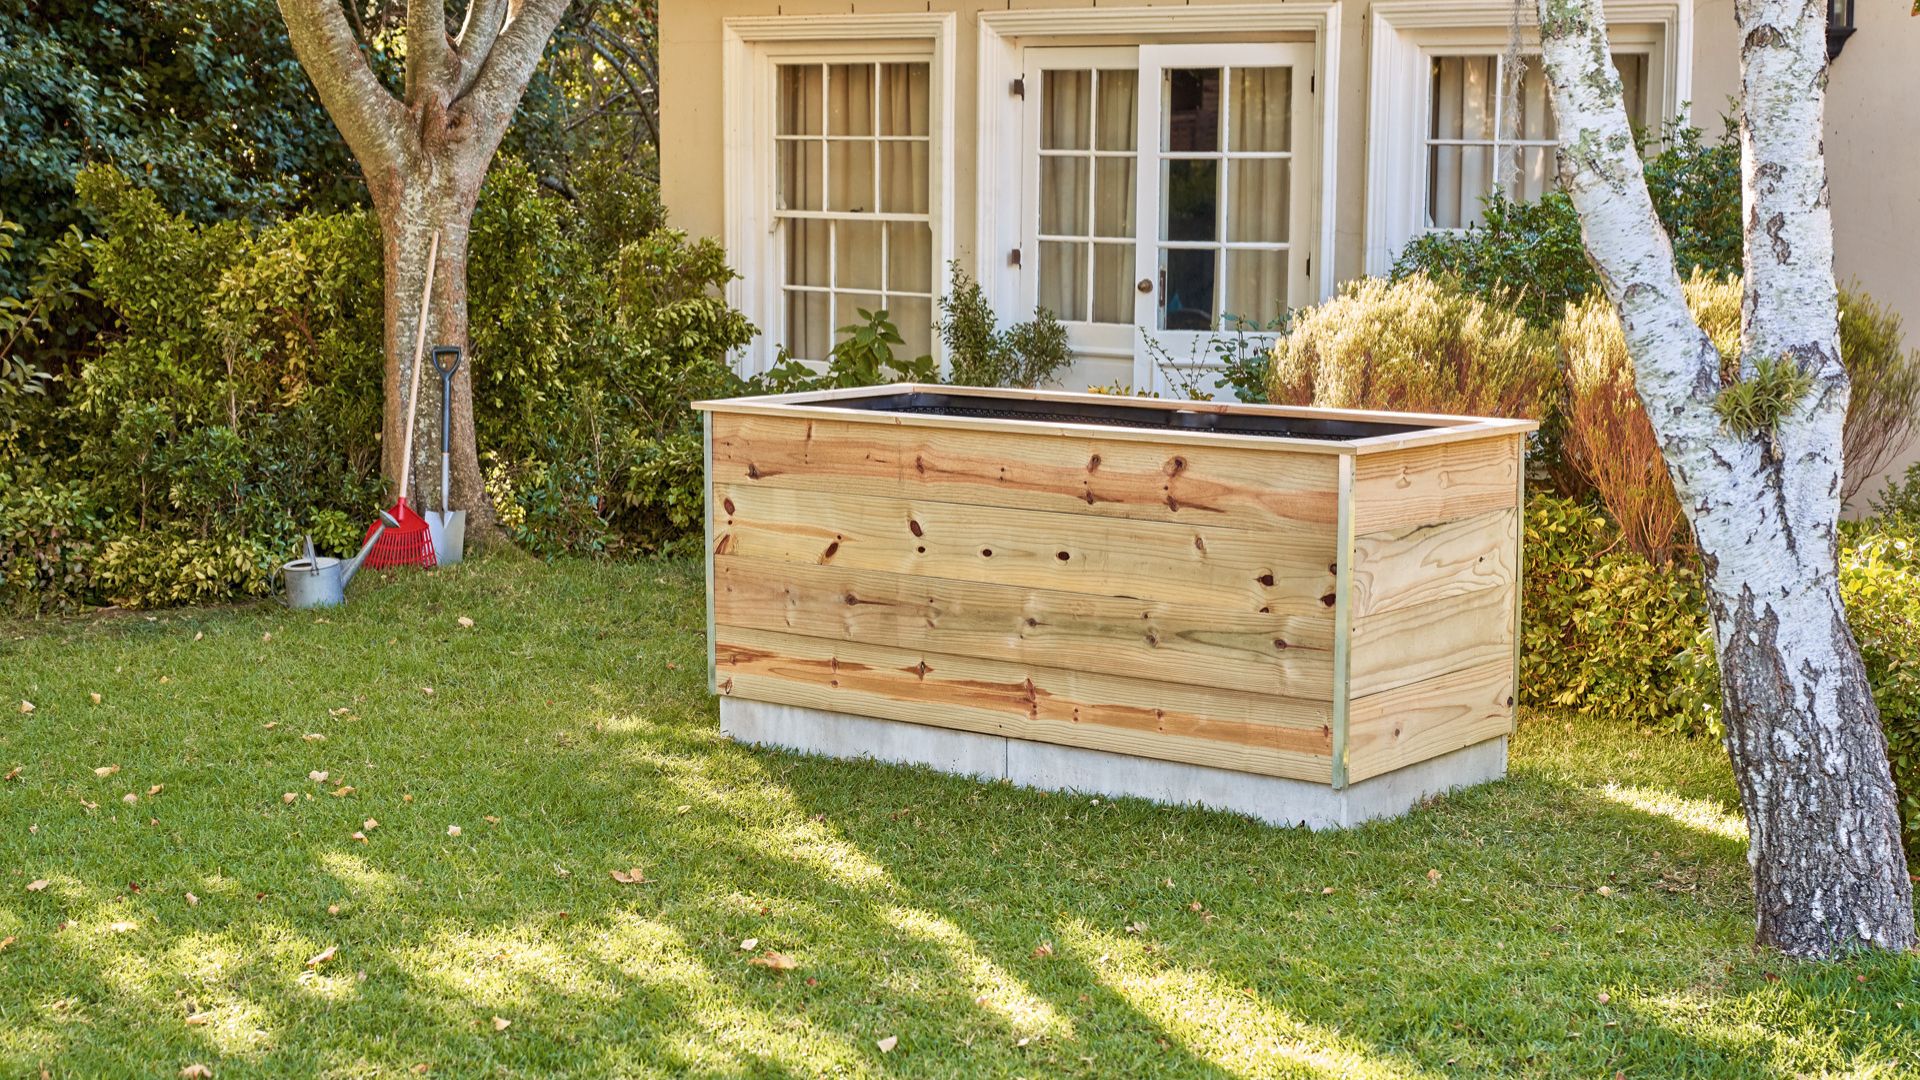
A raised bed is one of the best ways to grow vegetables, herbs, and flowers—especially if you’re dealing with poor soil, limited space, or mobility issues. Raised beds improve drainage, reduce weeds, and warm up earlier in the spring, giving your plants a head start.
Whether you’re a beginner or a seasoned gardener, this guide will show you how to build a raised garden bed step by step using simple tools and materials.
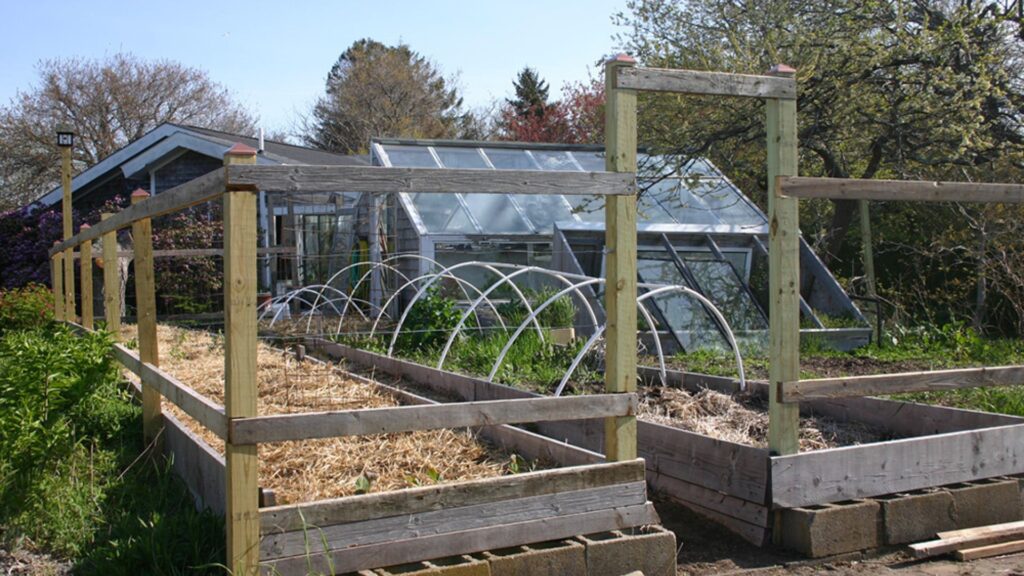
Benefits of Raised Bed Gardening
Before diving into the building process, here’s why raised beds are a smart choice:
-
Better soil control – Fill with quality soil for improved plant health.
-
Fewer weeds and pests – Easier to manage than traditional garden beds.
-
Improved drainage – Prevents root rot by keeping soil from getting soggy.
-
Accessibility – Less bending and kneeling, especially helpful for seniors.
-
Extended growing season – Soil warms up faster in spring and stays warmer in fall.
What You’ll Need
Tools:
-
Measuring tape
-
Saw (hand saw or circular saw)
-
Power drill or screwdriver
-
Level
-
Hammer (optional)
Materials:
-
2×6 or 2×8 untreated wood planks (cedar or redwood are rot-resistant)
-
Wood screws (2.5 to 3 inches)
-
Landscape fabric or cardboard (optional, for weed prevention)
-
Soil and compost mix
Choose the Right Location
Pick a sunny spot that gets at least 6–8 hours of sunlight daily—ideal for vegetables and herbs. Make sure the ground is level or can be leveled easily.
🌞 Avoid low-lying areas where water tends to collect.
Decide the Size
A common raised bed size is:
-
4 feet wide (easy to reach across without stepping inside)
-
8 feet long (can be shorter depending on space)
-
12 to 18 inches deep (enough for most vegetables)
Adjust the size to fit your space, but keep it manageable. If your bed is too wide, you’ll have trouble reaching the middle.
Cut and Assemble the Frame
-
Cut your wood to the desired length for the sides and ends.
-
Lay out the pieces in a rectangle.
-
Drill pilot holes to prevent splitting the wood.
-
Screw the boards together at the corners using 2–3 wood screws per joint.
-
Use a level to check the frame is even.
💡 Tip: Use corner braces for extra strength, especially on longer beds.
Prepare the Ground
Clear grass, weeds, and rocks from the area where your bed will sit.
Optionally:
-
Lay down landscape fabric or cardboard to suppress weeds.
-
This breaks down over time and adds organic matter to the soil.
Set the Bed in Place
Move your finished frame into the cleared area. Check again with a level to ensure it’s flat—this helps with even watering.
Fill with Soil
Use a high-quality mix of:
-
Topsoil
-
Compost
-
Organic matter (like aged manure or leaf mold)
A good ratio is:
50% topsoil, 30% compost, 20% organic amendments.
Fill to about 1–2 inches from the top to allow for watering.
Start Planting!
Now you’re ready to grow! You can plant seeds or seedlings right away. Just follow the spacing and sunlight requirements for each plant.
Great choices for raised beds include:
-
Tomatoes
-
Lettuce
-
Peppers
-
Carrots
-
Basil
-
Spinach
-
Flowers like marigolds and nasturtiums
Maintenance Tips
-
Water regularly, especially in dry weather (raised beds dry out faster).
-
Mulch the surface to retain moisture and suppress weeds.
-
Rotate crops each season to keep soil healthy.
-
Add compost between seasons to refresh nutrients.
Conclusion
Building a raised bed is a simple DIY project that offers big rewards. With just a few tools and materials, you can create a productive, attractive growing space right in your yard. Whether you’re planting vegetables, herbs, or flowers, a raised bed gives your plants the healthy start they need—and makes gardening more enjoyable for you.


