
Microgreens are young, edible seedlings of vegetables and herbs packed with flavor and nutrients. They’re easy to grow, fast to harvest, and popular with chefs and health-conscious eaters. If you have a backyard, even a small one, you can turn it into a productive micro-green farm to grow fresh, healthy food or start a small business.
This article will guide you through the steps to start your own backyard micro-green farm.
What Are Microgreens?
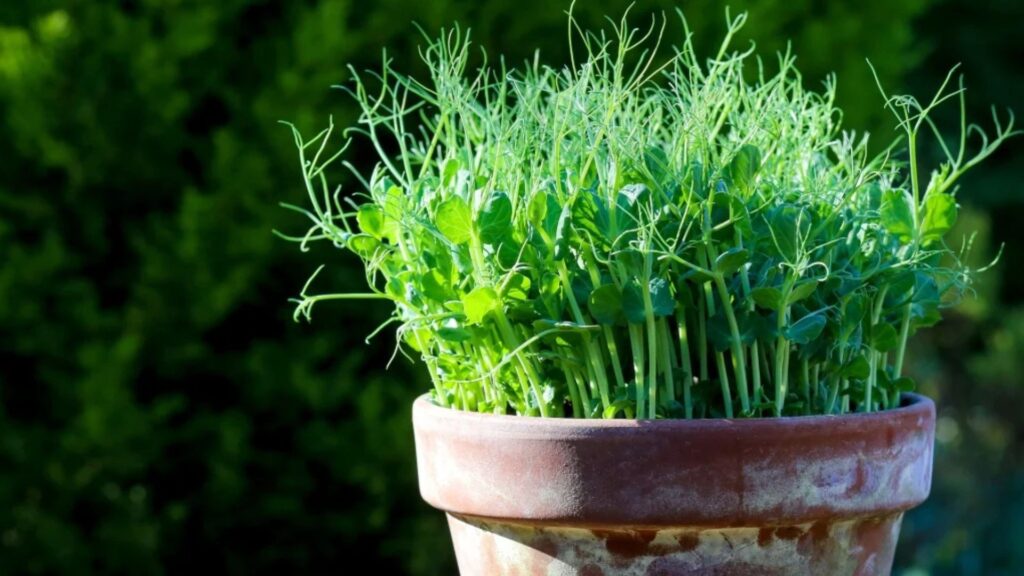
Microgreens are seedlings harvested just after the first true leaves appear—usually 7 to 21 days after planting. Unlike sprouts, they grow in soil or a growing medium and develop tiny leaves and stems.
Common microgreens include:
-
Radish
-
Sunflower
-
Pea shoots
-
Basil
-
Cilantro
-
Arugula
Why Grow Microgreens in Your Backyard?
-
Fast growth: Ready to harvest in 1 to 3 weeks
-
Small space: You can grow lots of microgreens in a small area
-
High value: They sell well to restaurants, markets, and health-conscious consumers
-
Nutrient-rich: Microgreens have concentrated vitamins and antioxidants
-
Easy to manage: Minimal tools and care required
Choose the Right Location
-
Find a flat, sunny spot in your backyard that receives at least 4 to 6 hours of direct sunlight daily.
-
If sunlight is limited, plan to use grow lights to supplement.
-
Ensure the area is sheltered from strong winds or heavy rain that could damage young seedlings.
Select Your Growing Containers and Medium
-
Use shallow trays, seedling flats, or recycled containers with drainage holes.
-
For soil-based growing, use organic potting mix or a seed-starting mix that drains well.
-
Alternatively, grow microgreens hydroponically on coco coir mats or hemp mats.
Choose Microgreen Seeds
-
Buy seeds labeled specifically for microgreens to ensure they’re untreated and safe to eat raw.
-
Select easy and fast-growing varieties like radish, broccoli, pea shoots, or sunflower.
-
Start with one or two varieties and expand as you gain experience.
Planting Your Microgreens
-
Fill your trays with about 1 to 2 inches of your growing medium.
-
Spread seeds evenly but densely across the surface.
-
Lightly press the seeds into the soil but do not bury them deep.
-
Mist gently with water to moisten the seeds and soil.
SCare and Maintenance
-
Cover the trays with a humidity dome or another tray for the first few days to keep moisture consistent.
-
Keep the soil moist but not waterlogged by misting daily or watering gently.
-
Remove the cover once seedlings emerge (usually 2 to 4 days).
-
Provide adequate sunlight or use grow lights for 12-16 hours daily.
-
Maintain good airflow to prevent mold.
Harvesting Microgreens
-
Microgreens are usually ready to harvest 7 to 21 days after planting, depending on the variety.
-
Use scissors to cut the greens just above the soil line.
-
Harvest in the morning when microgreens are crisp and fresh.
-
Use immediately or store in the refrigerator for up to a week.
Marketing Your Microgreens (Optional)
-
Start by selling to neighbors, local restaurants, or farmers’ markets.
-
Highlight that your microgreens are homegrown, fresh, and pesticide-free.
-
Package your microgreens in small containers or clamshell boxes for easy sale.
Tips for Success
-
Keep your growing area clean to avoid pests and diseases.
-
Rotate crops or sterilize trays between batches to reduce contamination.
-
Experiment with different varieties to find what grows best in your backyard climate.
-
Monitor for pests like aphids and treat with organic methods if needed.
Conclusion
Turning your backyard into a micro-green farm is a simple, rewarding project that can supply you with fresh, nutritious greens or become a profitable small business. With minimal space, time, and investment, you can enjoy fast-growing, high-value crops that fit perfectly into green living.